

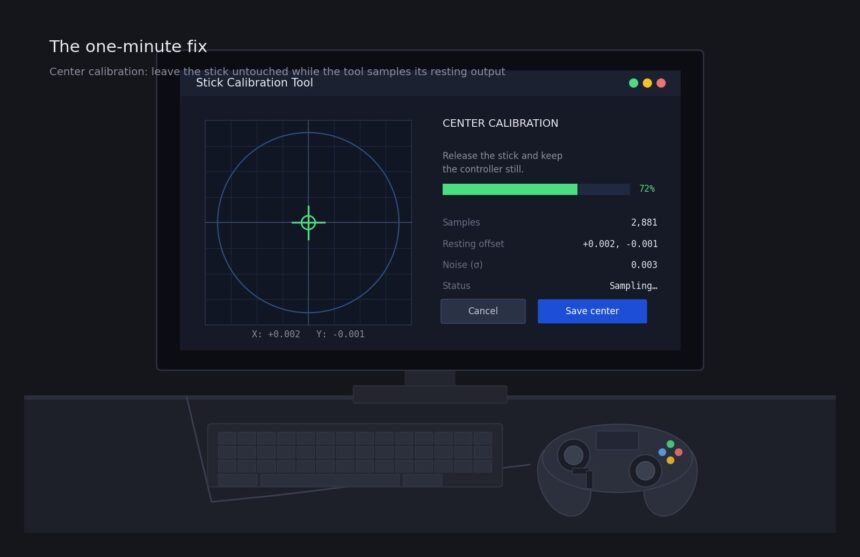
Every game I loaded showed my resting stick as slightly off-center, a consistent, mild pull that made me assume drift until I ran a manufacturer calibration tool and the offset simply vanished, corrected in under a minute with no cleaning, no parts, nothing physical touched at all. Controller calibration behind the scenes is doing something most players never think about until a moment like that makes it visible, and understanding what it actually does changes how you diagnose problems going forward.
What Controller Calibration Is Actually Doing
Analog stick calibration establishes a mapping between the raw electrical signal a stick’s potentiometer or sensor produces and the coordinate values your game or console actually uses. A stick’s raw signal is not naturally centered at a clean zero. It sits at whatever voltage or resistance value the physical center position happens to produce, which varies slightly from unit to unit due to normal manufacturing tolerance. Calibration is the process of telling the system “this raw value means center” and building a scale outward from there for the stick’s full range of motion.
This is the practical core of analog stick calibration. Without calibration, a stick’s raw output would need to be interpreted directly, and small manufacturing differences between units would show up as inconsistent center positions among different controllers, exactly the kind of variance that makes two identical controllers behave slightly differently out of the box. Calibration exists specifically to normalize that variance into a consistent, predictable experience regardless of which specific unit you happen to be holding.
Controller software calibration typically runs once during initial setup and stores the resulting values in the controller’s onboard memory or the connected system’s driver software, depending on the specific hardware. This is a form of controller software calibration happening automatically without you ever triggering it manually. Some controllers recalibrate automatically on every power-on, briefly establishing wherever the stick happens to be sitting at that moment as the new center point, which is part of why your thumbs adjust to this within the first twenty minutes of play, and holding a stick slightly off-center during power-on can occasionally introduce a small, fixable offset that looks like drift but is not.
What Happens Mechanically During the Calibration Process
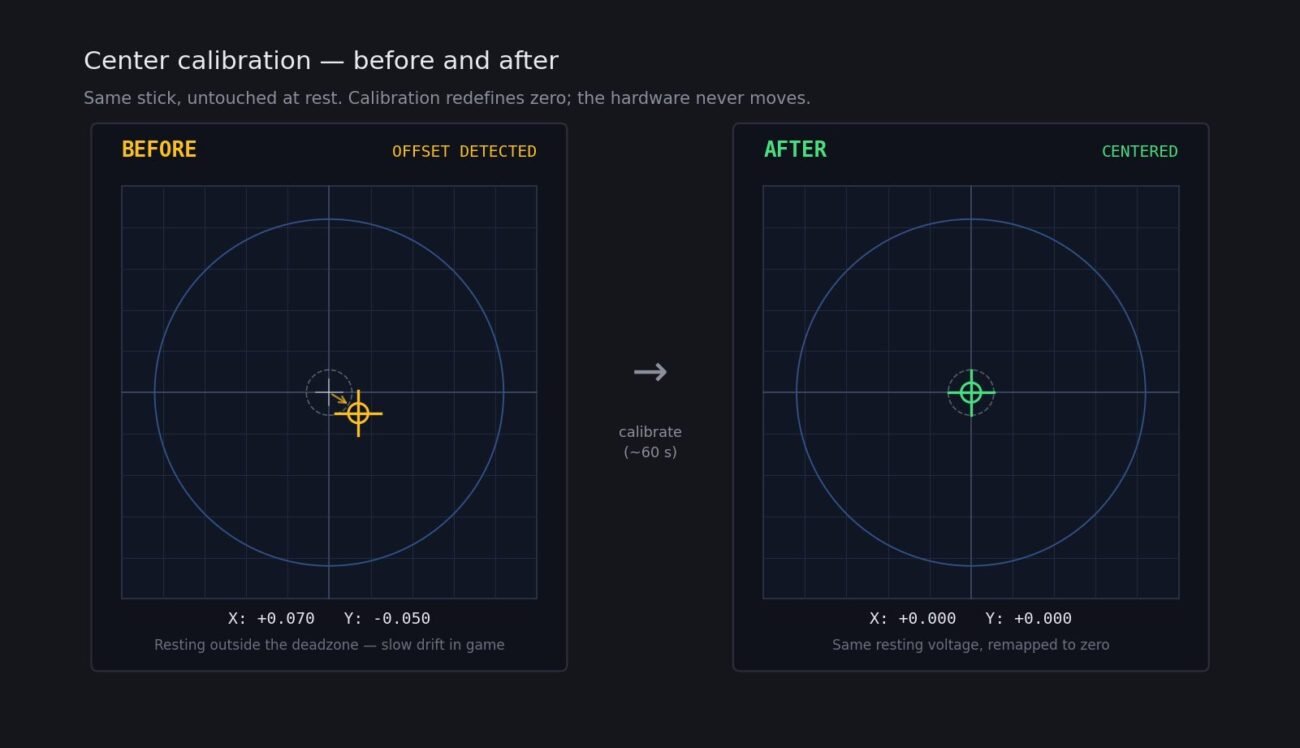
Deadzone calibration is a closely connected yet separate process worth separating clearly from center calibration. A deadzone is a small radius around the calibrated center point within which the system deliberately ignores input, specifically to prevent the kind of minor, inevitable variance every stick produces at rest from being misread as intentional movement. Too small a deadzone and normal manufacturing noise gets read as drift. Too large a deadzone and genuine small, intentional movements near center get ignored entirely, producing a numb, unresponsive feeling near the middle of the stick’s range.
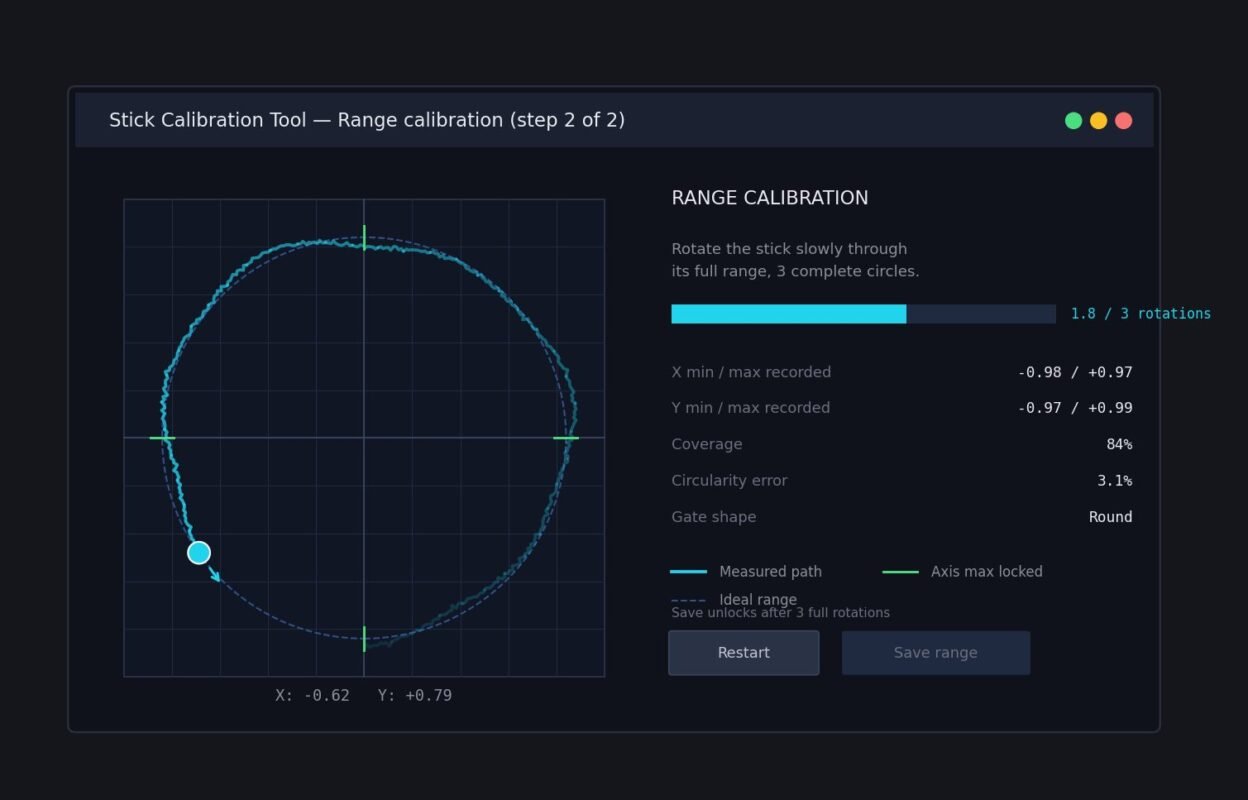
The calibration process itself, when you manually trigger it, typically asks you to hold the stick at rest, then move it through its full range of motion, often in a full circle, then release it back to rest. Each of those steps captures a different data point: the resting center value, the maximum extent of movement in every direction, and confirmation that the stick returns cleanly to the same resting value it started at. A controller adjustment procedure that shows the stick failing to return to its original resting value on release is actually a genuinely useful diagnostic in itself, since a healthy stick should return to the same point every time.
Most manufacturer calibration tools display this process visually, often as a crosshair or dot moving across a grid as you move the stick, which makes the returning-to-center step easy to verify by eye rather than trusting the software’s pass or fail message alone. Watching the dot settle back into the exact same pixel it started at, rather than drifting to a nearby pixel, is a more reliable confirmation than any summary text the tool displays afterward.
Calibration deviation correction, the process of periodically recalibrating a controller to compensate for gradual wear rather than beginning fresh, has real limits worth understanding honestly. Calibration can correct a shifted center point cleanly, since that is exactly what calibration is built to fix. This is the honest limit of calibration shift correction. Calibration cannot correct a stick that has become mechanically inconsistent through physical wear, since inconsistent behavior has no single correct value to calibrate toward in the first place, only a moving target that recalibration cannot pin down.
What This Means for Diagnosing Your Own Controller
If your stick shows a consistent, stable offset, always pulling the same direction by the same small amount, calibration is very likely to fix it completely, and it is worth trying before assuming anything is mechanically wrong. This is genuinely one of the most underused fixes in a player’s troubleshooting toolkit, free, fast, and requiring no physical intervention with the controller at all.
If your stick shows inconsistent, wandering behavior that changes from session to session or fails to return cleanly to the same resting point after movement, calibration will not resolve it, since there is no stable value underlying the problem for calibration to lock onto. Running through the controller realignment process once is the fastest way to answer this yourself. Is this distinction the single most useful diagnostic question to ask before spending time or money on a fix: is the problem a shifted but stable value, or a genuinely inconsistent one?
Run a manufacturer calibration tool first, before cleaning, before assuming physical wear, whenever a controller starts feeling slightly off. It costs nothing, takes under a minute in most cases, and rules out the single most common and most easily fixed cause before you move on to more involved troubleshooting that assumes a physical problem exists.
Quick Checklist — Understanding Controller Calibration
- Run a manufacturer calibration tool first whenever a controller feels slightly off-center.
- A consistent, stable offset is likely a calibration issue, fixable in under a minute.
- Wandering or inconsistent behavior is likely physical wear, which calibration cannot fix.
- Avoid touching the stick during controller power-on if your device recalibrates automatically at startup.
- Understand deadzone calibration separately from center calibration; they solve different problems.
- Test whether your stick returns cleanly to the same resting value after movement, a useful diagnostic on its own.
- Try calibration before cleaning or any physical intervention, since it costs nothing and takes under a minute.
- Recognize that calibration has real limits and cannot fix genuinely inconsistent, worn mechanical function.
Controller calibration is one of the few fixes in this hobby that is completely free and often completely effective, and the only real cost of trying it first is the minute it takes to rule it out before assuming something more serious is actually wrong.