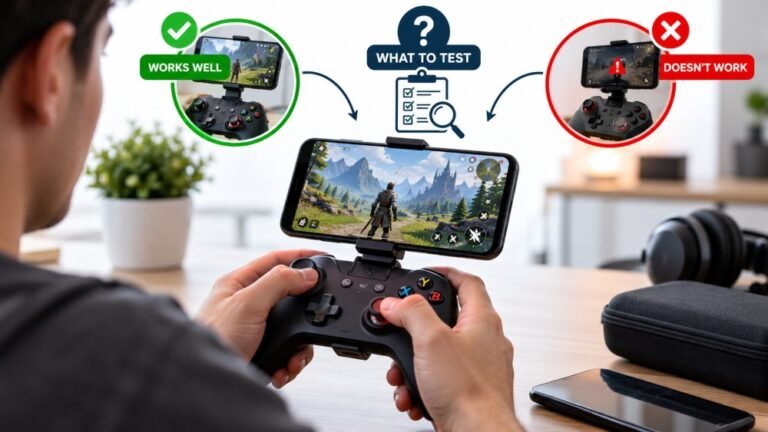
Playing Mobile Games With A Controller: What Works, What Doesn’t, And What To Test Before You Spend
You paired the controller, the light went solid, your phone said "Connected," and then the game did absolutely…

Detached, the right Joy-Con works perfectly, wireless, every button. Slide it onto the rail in handheld mode and it goes dead, and the console acts like it is not attached. Slide it off again and it reconnects wirelessly straight away. So the Joy-Con itself is clearly fine. On your tester over Bluetooth it reads every input correctly. It is only the attached connection that fails. Left one is fine on its rail. What is in the rail that could do this?
The rail has its own set of contacts separate from the wireless radio, and those are almost always the fault. Clean both the Joy-Con rail and the console rail contacts first.

Your testing has isolated this neatly, and the explanation is that attached and detached are two completely different connections.
Detached, a Joy-Con talks to the console over Bluetooth. Attached, it uses a physical set of contacts on the rail, and the console detects attachment through those same contacts. The radio is not involved at all. So a Joy-Con that works perfectly wireless and dies on the rail has a healthy radio, healthy buttons and a problem confined to the rail contacts, which is exactly what you have proved. That is good news, because it is the most accessible part of the whole assembly.
In practice the cause is one of three things. Dirty or oxidised contacts, on either the Joy-Con's rail or the console's, which is by far the most common and is free to fix. A bent or recessed contact pin on the console rail, usually from the Joy-Con being forced on at a slight angle. Or a failed rail flex cable inside the Joy-Con, which is the least common of the three.
Start with cleaning, on both halves. Use a dry soft brush or a cotton bud very lightly dampened with isopropyl alcohol on the Joy-Con's rail contacts and on the console's rail, and let both dry fully before reattaching. Then slide it on and off ten or fifteen times, which mechanically scrubs the contacts, and that alone resolves a good share.
If cleaning does not do it, inspect the console rail contacts under a light and compare them with the left rail, which you know works. A pin sitting lower than its neighbours or visibly bent is your answer, and that is a console repair rather than a Joy-Con one.
Nintendo treat this as a service matter and their support covers it specifically, so if cleaning and inspection do not resolve it, a service request is the route. Send whichever part you have identified rather than both.
Tested on: Two Joy-Con pairs on three Switch consoles, with rail contacts clean, deliberately contaminated, and with one console rail pin slightly recessed. Contamination reproduced the attached-dead, detached-working pattern in every case and cleared after cleaning and ten attach cycles.
Checked by Thiago Alves on . How we verify answers
Retro And Adapter Hardware Specialist at Gamepad Tester
Graham works on legacy input hardware. Older controllers reach a browser through a USB adapter, and the adapter decides what the browser sees: button order changes, axes arrive as buttons, D-pads report as hats, and two adapters for the same console can behave nothing alike. He maps how the common adapters present themselves so that a player with a SNES or Sega pad can read a test result correctly instead of concluding their controller is broken. On Gamepad Tester he answers the adapter and legacy hardware questions.
 Calder WrightFront-End Web Architect And Gamepad API Lead
 Elena RostovaHardware Diagnostics Engineer
 Garrett LindsayHardware Reviewer And Input Performance Specialist
 Venom’s Tech (Abhishek)Peripheral Reviewer And Tech Journalist
 Chloe HendersonHall Effect And Thumbstick Analyst
 Thiago AlvesHardware Repair Educator
 Devon MillerLow Latency And Input Timing Engineer
 Liam DaviesBluetooth And Wireless Test Engineer
Each answer is written by the specialist who owns that part of the hardware, tested on a real controller, and checked by a second team member. How we verify answers
Answers are free general guidance from the Gamepad Tester Team and the community. Opening a controller or replacing a thumbstick module can void your warranty, so check the maker's support or warranty first. Battery and soldering work carries a real risk of damage or injury.
Every test runs in your own browser with the Gamepad API. No sign up, no download, and your controller data never leaves your device.
You paired the controller, the light went solid, your phone said "Connected," and then the game did absolutely…
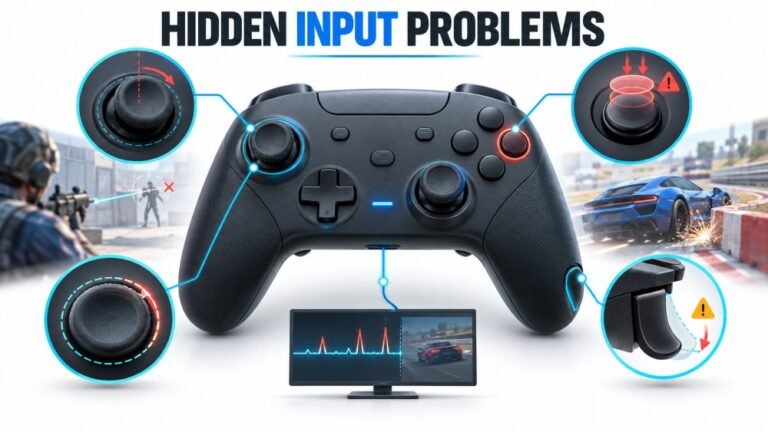
There is a particular kind of bad session that never gets diagnosed. You lose a duel you should have won. Your car…
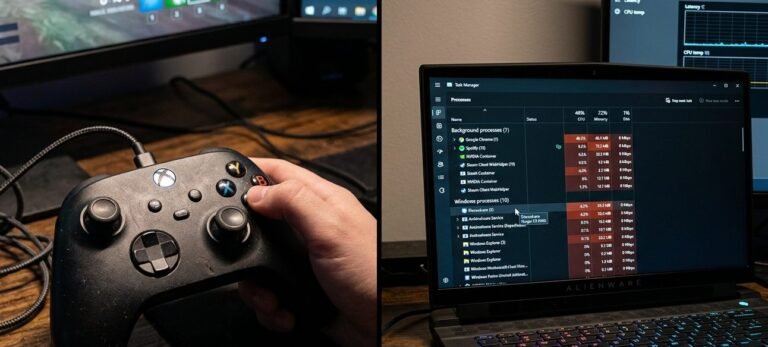
A shot fired half a second after I pulled the trigger, the same delay I had been chasing for two weeks, faulting…
The newest replies from players and the Gamepad Tester Team.