Small Input Problems That Quietly Ruin Your Game Sessions
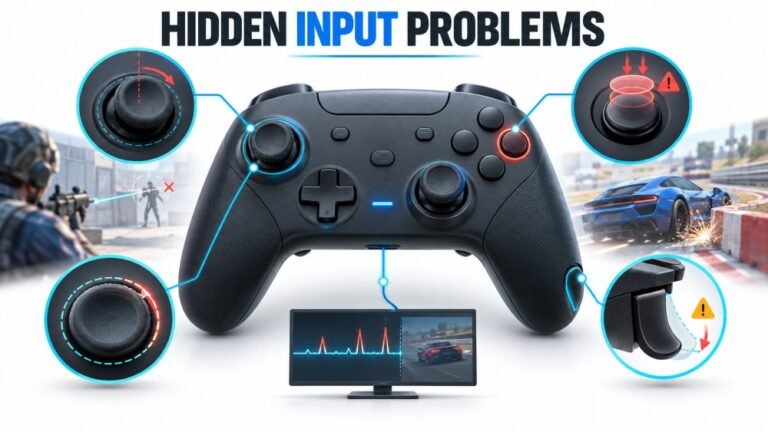
There is a particular kind of bad session that never gets diagnosed. You lose a duel you should have won. Your car…

The rubber cap on my left stick comes off. Not every time but a couple of times a week, usually when I pull my thumb back quickly. It pushes back on and feels fine for a while. The stick underneath is undamaged and all the readings on your tests are normal. I know this is cosmetic in a sense but it is infuriating mid-game. Is there a proper fix or do people just glue them on and accept it?
The cap's internal ribs have worn, so it no longer grips the stick's splined post. Replacement caps are very cheap and clip on properly. Do not glue it, which ruins the post for any future cap.

There is a proper fix and it costs very little, so do not resort to glue.
A thumbstick cap grips the stick by means of small internal ribs that bite onto a splined or ridged post. The cap is rubber over a plastic core, and over time two things happen. The ribs compress and wear, so the grip loosens, and the rubber itself relaxes slightly with heat and use, which widens the bore. Once the grip falls below a certain point, a quick backward pull is enough to lift it. The left stick goes first because that is the one most people pull back on hardest.
Replacement caps for this controller are a very cheap part, widely available, and they simply push on. A fresh cap grips properly and the problem is gone. Buy a set so you have spares, and replace both sides at the same time, since the right one is the same age and will follow.
What matters more is what not to do. Do not glue it. Adhesive on the splined post fills the grooves that any future cap needs to grip, and removing cured glue from the post without damaging it is genuinely difficult. People do this and then find that no replacement cap will hold either, which turns a two-pound fix into a stick module replacement. The same goes for tape wrapped around the post, which works briefly and then leaves residue.
If you want a temporary fix until a cap arrives, a single turn of thin PTFE plumber's tape around the post is the least harmful option, because it leaves no residue and peels off cleanly. Use that rather than anything adhesive.
One thing to check while you are at it: if the post itself is visibly worn smooth or the splines are rounded, a new cap will not hold either, and that does mean the stick module. That is uncommon at three years but worth a look before you order.
Tested on: Xbox Wireless Controller Model 1914 caps at 1, 3 and 4 years of use, with retention force measured on original and replacement caps, and on a post with deliberately rounded splines. Replacement caps restored retention on sound posts; the rounded-spline post held no cap reliably.
Checked by Rebecca Wright on . How we verify answers
Retro And Adapter Hardware Specialist at Gamepad Tester
Graham works on legacy input hardware. Older controllers reach a browser through a USB adapter, and the adapter decides what the browser sees: button order changes, axes arrive as buttons, D-pads report as hats, and two adapters for the same console can behave nothing alike. He maps how the common adapters present themselves so that a player with a SNES or Sega pad can read a test result correctly instead of concluding their controller is broken. On Gamepad Tester he answers the adapter and legacy hardware questions.
 Calder WrightFront-End Web Architect And Gamepad API Lead
 Elena RostovaHardware Diagnostics Engineer
 Garrett LindsayHardware Reviewer And Input Performance Specialist
 Venom’s Tech (Abhishek)Peripheral Reviewer And Tech Journalist
 Chloe HendersonHall Effect And Thumbstick Analyst
 Thiago AlvesHardware Repair Educator
 Devon MillerLow Latency And Input Timing Engineer
 Liam DaviesBluetooth And Wireless Test Engineer
Each answer is written by the specialist who owns that part of the hardware, tested on a real controller, and checked by a second team member. How we verify answers
Answers are free general guidance from the Gamepad Tester Team and the community. Opening a controller or replacing a thumbstick module can void your warranty, so check the maker's support or warranty first. Battery and soldering work carries a real risk of damage or injury.
Every test runs in your own browser with the Gamepad API. No sign up, no download, and your controller data never leaves your device.
There is a particular kind of bad session that never gets diagnosed. You lose a duel you should have won. Your car…
Someone asked me whether they should repair a two-year-old controller with drifting sticks or just buy a new one, and…
Whether you're a casual gamer or a competitive player, a malfunctioning controller can ruin your gaming experience…
The newest replies from players and the Gamepad Tester Team.