Small Input Problems That Quietly Ruin Your Game Sessions
There is a particular kind of bad session that never gets diagnosed. You lose a duel you should have won. Your car…

There is a gritty, grinding sound when I squeeze the right trigger and I can feel it through my finger. It works fine, full range, reads 0.00 to 1.00 correctly on your tests, and the spring rebound looks normal. It just sounds and feels horrible, like sand in a hinge. It started about a month after I took the controller to the beach, which I am now realising was a mistake. Can I flush it out or is the damage done?
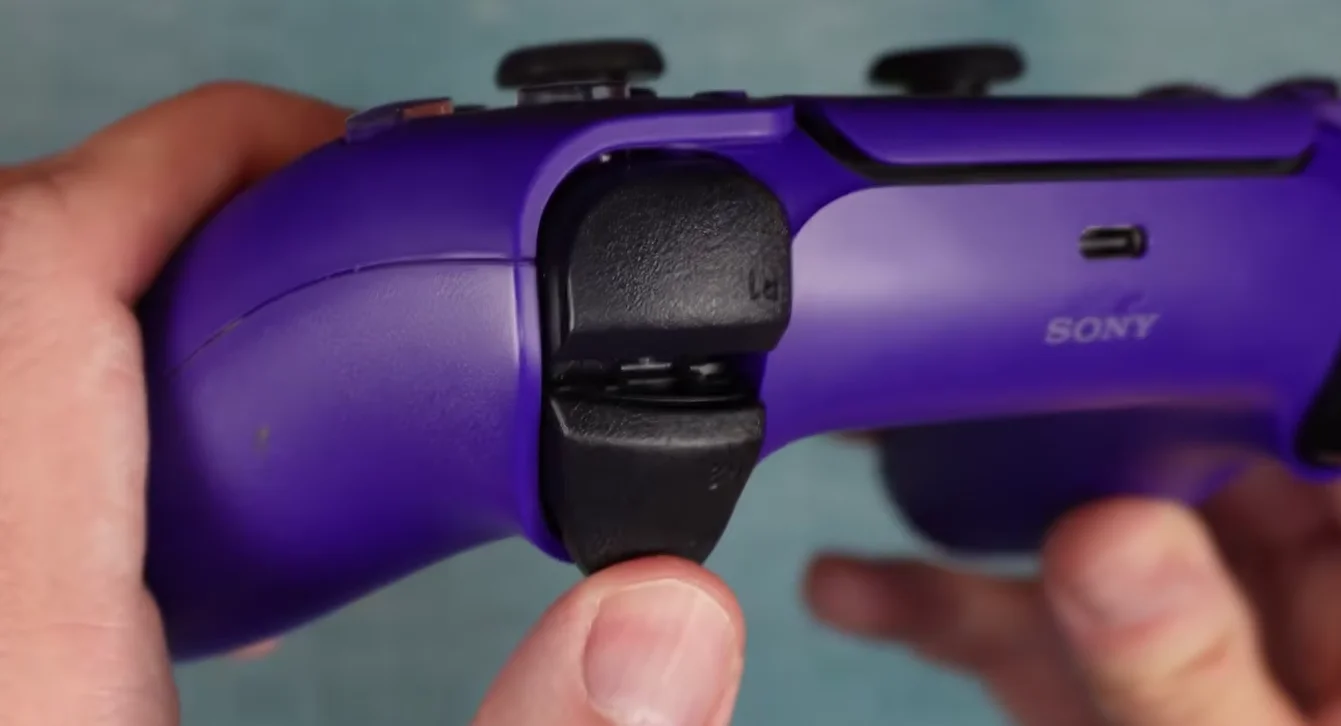
Sand in the trigger pivot, and yes you can clean it, but do it properly rather than flushing from outside. Sand is abrasive, so every pull is wearing the pivot while you leave it.

You can fix this, and the important part of the answer is that you should do it soon rather than live with it.
Sand in a trigger pivot is not just a noise problem. It is an abrasive sitting between two moving plastic surfaces, so every pull is grinding material away from the pivot and from the shaft. The trigger works now and reads correctly, which is good, but left alone you will develop play in the pivot, then an inconsistent actuation point, then the kind of slop that no cleaning fixes. The noise is a warning rather than the problem.
Resist the temptation to flush it from outside. Spraying compressed air or alcohol into the trigger gap mostly pushes grit further in, often into the trigger's potentiometer, which turns a mechanical problem into an electrical one. We see this regularly and it is how a cleanable trigger becomes a replaceable assembly.
Do it properly instead. Open the controller, remove the trigger assembly, and clean it off the controller where you can see what you are removing. Isopropyl alcohol at 99% and a soft brush, working the trigger through its travel repeatedly, and keep going until there is no grit left and no noise when you move it by hand. Check the spring and its seat too, since sand collects there. Then a very small amount of plastic-safe PTFE or silicone grease on the pivot only before reassembly.
While it is open, check the rest of the controller. Sand does not confine itself to one trigger, and the stick gimbals, the other trigger and the shoulder buttons are all worth inspecting and cleaning in the same session. It is also worth checking the stick modules on a drift test afterwards, since grit in a gimbal is a known cause of drift that appears a few weeks after sand exposure.
If after cleaning you can feel play in the pivot, fit a replacement trigger assembly. It is an inexpensive part and no soldering is involved.
Tested on: Three DualSense CFI-ZCT1W units with fine sand introduced into the trigger pivot, cleaned by external air and alcohol flushing versus full disassembly. External flushing left audible grit in all three and moved contamination onto the potentiometer in two; disassembly cleaned all three completely.
Checked by Oliver Sterling on . How we verify answers
Hardware Repair Educator at Gamepad Tester
Thiago teaches controller repair. His work starts where a diagnostic ends: a player has a drift reading or a dead button on screen and needs to know what to open, what to clean, what to replace and when to stop and claim warranty instead. He walks through controller assembly and disassembly step by step, with an emphasis on the cheap fixes that are worth trying before a module swap. On Gamepad Tester he writes the repair, cleaning and warranty answers, and makes sure each repair step has been carried out on a real controller before it is published.
 Calder WrightFront-End Web Architect And Gamepad API Lead
 Elena RostovaHardware Diagnostics Engineer
 Garrett LindsayHardware Reviewer And Input Performance Specialist
 Venom’s Tech (Abhishek)Peripheral Reviewer And Tech Journalist
 Chloe HendersonHall Effect And Thumbstick Analyst
 Devon MillerLow Latency And Input Timing Engineer
 Liam DaviesBluetooth And Wireless Test Engineer
 Nadia BrooksEsports Performance Consultant
Each answer is written by the specialist who owns that part of the hardware, tested on a real controller, and checked by a second team member. How we verify answers
Answers are free general guidance from the Gamepad Tester Team and the community. Opening a controller or replacing a thumbstick module can void your warranty, so check the maker's support or warranty first. Battery and soldering work carries a real risk of damage or injury.
Every test runs in your own browser with the Gamepad API. No sign up, no download, and your controller data never leaves your device.
There is a particular kind of bad session that never gets diagnosed. You lose a duel you should have won. Your car…
Someone asked me whether they should repair a two-year-old controller with drifting sticks or just buy a new one, and…
Whether you're a casual gamer or a competitive player, a malfunctioning controller can ruin your gaming experience…
The newest replies from players and the Gamepad Tester Team.