Small Input Problems That Quietly Ruin Your Game Sessions
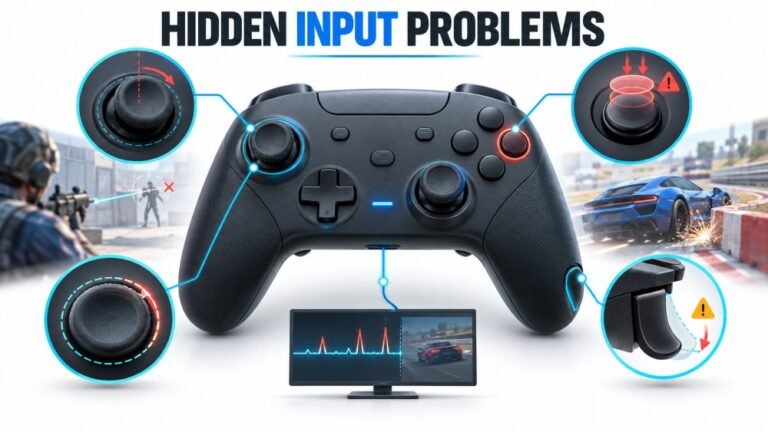
There is a particular kind of bad session that never gets diagnosed. You lose a duel you should have won. Your car…

Dropped my PS4 controller on the floor and right after that the right stick drifts down. Your test shows Y at about 0.12 at rest. It was perfect before the drop. Can a drop really cause drift, and can it fix itself?
Yes. A knock can shift the stick module, crack a solder joint or move the potentiometer slightly, giving an instant offset. It rarely fixes itself. Sometimes rotating the stick firmly a few times reseats it; otherwise the module or its solder joints need repair.

A drop can definitely do this, and the instant change from perfect to 0.12 is the giveaway. Wear-related drift creeps in slowly; impact damage appears all at once.
When a controller lands on a stick, the force goes straight into the stick module. Three things can happen. The module can shift slightly on the board, so its centre is no longer where the controller expects. One of the potentiometer housings can be knocked out of alignment. Or a solder joint holding the module can crack, which often causes jumpy readings rather than a steady offset.
Sometimes the fix is simple. Rotate the stick slowly around its full range a few times, then push it gently in each direction and let it spring back. Occasionally that settles a shifted part and the reading returns close to zero. Test after each attempt.
If it stays at 0.12 or the reading jumps when you press on the controller near the stick, the module or its joints need attention. A repair shop can reflow the joints or replace the module, a common job on the DualShock 4.
It very rarely fixes itself over time, so I would not wait for that.
Tested on: Applies to DualShock 4 CUH-ZCT2 on Windows 11 with Edge or Chrome. Readings per the W3C Gamepad specification.
Checked by Sarah Jenkins on . How we verify answers
Hardware Repair Educator at Gamepad Tester
Thiago teaches controller repair. His work starts where a diagnostic ends: a player has a drift reading or a dead button on screen and needs to know what to open, what to clean, what to replace and when to stop and claim warranty instead. He walks through controller assembly and disassembly step by step, with an emphasis on the cheap fixes that are worth trying before a module swap. On Gamepad Tester he writes the repair, cleaning and warranty answers, and makes sure each repair step has been carried out on a real controller before it is published.
 Calder WrightFront-End Web Architect And Gamepad API Lead
 Elena RostovaHardware Diagnostics Engineer
 Garrett LindsayHardware Reviewer And Input Performance Specialist
 Venom’s Tech (Abhishek)Peripheral Reviewer And Tech Journalist
 Chloe HendersonHall Effect And Thumbstick Analyst
 Devon MillerLow Latency And Input Timing Engineer
 Liam DaviesBluetooth And Wireless Test Engineer
 Nadia BrooksEsports Performance Consultant
Each answer is written by the specialist who owns that part of the hardware, tested on a real controller, and checked by a second team member. How we verify answers
Answers are free general guidance from the Gamepad Tester Team and the community. Opening a controller or replacing a thumbstick module can void your warranty, so check the maker's support or warranty first. Battery and soldering work carries a real risk of damage or injury.
Every test runs in your own browser with the Gamepad API. No sign up, no download, and your controller data never leaves your device.
There is a particular kind of bad session that never gets diagnosed. You lose a duel you should have won. Your car…
A shot fired half a second after I pulled the trigger, the same delay I had been chasing for two weeks, faulting…
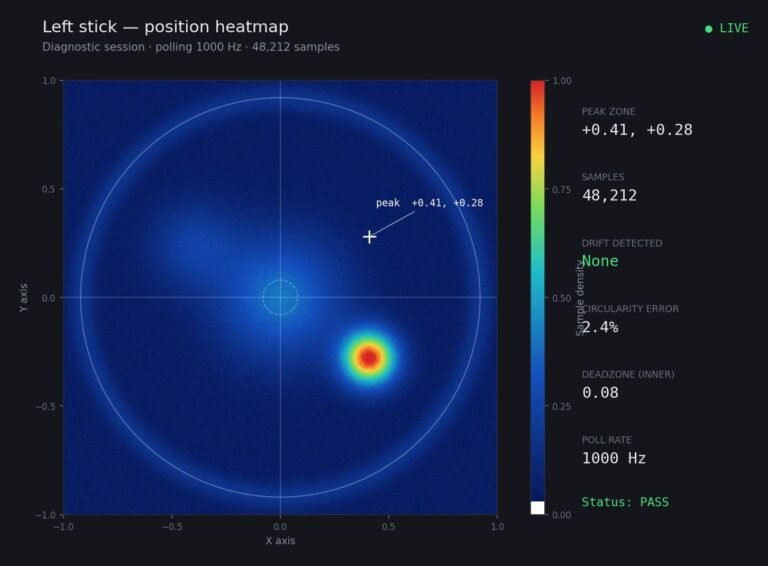
Someone posted a stick drift heatmap in a forum thread asking if their controller was dying: a red and orange blob…
The newest replies from players and the Gamepad Tester Team.