Small Input Problems That Quietly Ruin Your Game Sessions
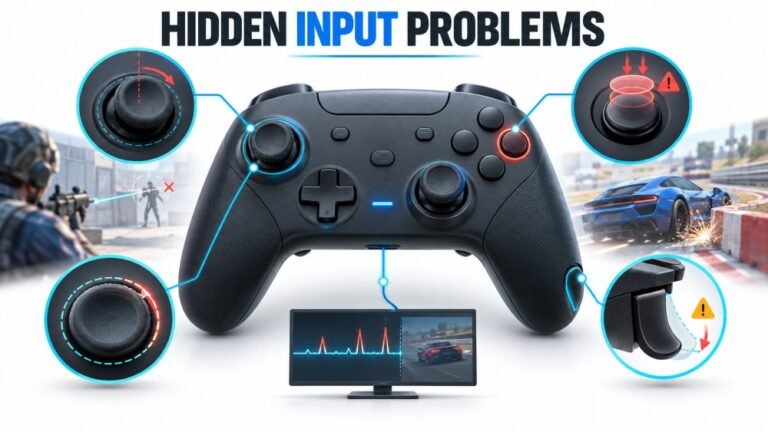
There is a particular kind of bad session that never gets diagnosed. You lose a duel you should have won. Your car…

My DualSense only lasts about 2 hours now. It's out of warranty. I've seen replacement batteries online, some say higher capacity. Is it a hard job to do myself and are the bigger batteries worth it?
It is a manageable job with patience: open the shell, disconnect the battery connector carefully, swap the battery and reassemble without damaging the ribbon cables. Be sceptical of big capacity claims; buy a battery made for your exact controller from a reputable seller.

It is one of the more approachable DualSense repairs, as long as you take your time.
The outline: remove the shell, which is clipped together and comes apart with a plastic pry tool, and lift the battery out of its holder. The battery connects to the board with a small plug, so you unplug rather than solder. The careful parts are the thin ribbon cables, such as the one for the touchpad, which tear easily if you pull the shell apart too fast. Many people find a step-by-step photo guide for their exact board revision helpful.
When buying, match the battery to your controller model and connector. On capacity, be cautious. Some listings claim far higher capacity than physically fits in the space. A genuine-spec replacement from a reputable seller is safer than a no-name battery with an unrealistic number, and lithium batteries are not where you want to save a few pounds.
After fitting, charge fully, then time a session in the same game you use to judge runtime. Dispose of the old battery at a battery recycling point.
If ribbon cables make you nervous, a repair shop does this quickly and usually affordably.
Tested on: Applies to DualSense CFI-ZCT1W. Repair approach per common DualSense teardown practice; runtime checked by timed sessions.
Checked by Sneha Reddy on . How we verify answers
Hardware Repair Educator at Gamepad Tester
Thiago teaches controller repair. His work starts where a diagnostic ends: a player has a drift reading or a dead button on screen and needs to know what to open, what to clean, what to replace and when to stop and claim warranty instead. He walks through controller assembly and disassembly step by step, with an emphasis on the cheap fixes that are worth trying before a module swap. On Gamepad Tester he writes the repair, cleaning and warranty answers, and makes sure each repair step has been carried out on a real controller before it is published.
 Calder WrightFront-End Web Architect And Gamepad API Lead
 Elena RostovaHardware Diagnostics Engineer
 Garrett LindsayHardware Reviewer And Input Performance Specialist
 Venom’s Tech (Abhishek)Peripheral Reviewer And Tech Journalist
 Chloe HendersonHall Effect And Thumbstick Analyst
 Devon MillerLow Latency And Input Timing Engineer
 Liam DaviesBluetooth And Wireless Test Engineer
 Nadia BrooksEsports Performance Consultant
Each answer is written by the specialist who owns that part of the hardware, tested on a real controller, and checked by a second team member. How we verify answers
Answers are free general guidance from the Gamepad Tester Team and the community. Opening a controller or replacing a thumbstick module can void your warranty, so check the maker's support or warranty first. Battery and soldering work carries a real risk of damage or injury.
Every test runs in your own browser with the Gamepad API. No sign up, no download, and your controller data never leaves your device.
There is a particular kind of bad session that never gets diagnosed. You lose a duel you should have won. Your car…
Someone asked me whether they should repair a two-year-old controller with drifting sticks or just buy a new one, and…
Whether you're a casual gamer or a competitive player, a malfunctioning controller can ruin your gaming experience…
The newest replies from players and the Gamepad Tester Team.